Interior Design
A Beginner's Guide to Layering Lighting: Ambient, Task and Accent Explained
Most homes have one light per room, and it is usually the wrong one. A single pendant in the middle of the ceiling throws light on the top of your head, leaves the corners grey and gives you nothing to read by. You end up with a room that is either harsh or gloomy, with nothing in between.
Layering is the fix, and it is not complicated. Instead of asking one fitting to do everything, you split the job between three types of light: ambient, task and accent. Get those working together and a room starts to feel calm, considered and genuinely usable — usually without changing a single piece of furniture.
The Three Roles Light Plays
Think of a lighting scheme as a cast rather than a star. Each layer has a job, and once you can name the job, the shopping decisions get easier.
- Ambient is the general light that fills a room: the ceiling fitting, the uplighter, the soft wash that stops a space feeling like a cave.
- Task is the light you use to see something properly: a reading lamp, a pendant over a worktop, the lamp on your desk.
- Accent is the light that shapes and decorates: a picture light, a spotlight on a plant, a small lamp on a console table, candles on the mantelpiece.
A layered room has all three, but not at the same brightness and rarely all switched on at once. That is the point.
Layer One: Ambient Lighting
Ambient light should be diffused and generous rather than intense. If your only source is a bare pendant bulb, an inexpensive fabric shade will do more for the room than a new fitting: it softens the glare, spreads light across the ceiling and lowers the contrast so the corners stop looking like holes.
Aim for roughly one ambient source per room, then add others as needed. Options that work well:
- A ceiling pendant or semi-flush fitting with a shade, on a dimmer.
- A floor uplighter bouncing light off the ceiling, which flatters rooms with low ceilings and no pendant point.
- Table lamps on opposite sides of the room, on separate switches or smart plugs.
If you have just one dimmable ambient source and nothing else, set it at about half. Half-lit ambient is where layering begins.
Layer Two: Task Lighting
Task light is measured by how well you can see, not how attractive the lamp is. The rule is simple: light should come from beside or behind your shoulder, angled onto the work, never from directly in front of you where it throws your own shadow across the page or the chopping board.
Three placements that rarely disappoint:
- Beside a chair. The base of the shade should sit roughly at eye level when you are seated, so you cannot see the bulb. A drum shade that is wider than it is tall gives a soft pool of light without glare.
- Over a worktop. Pendants or under-cabinet strips at the front edge of the counter, not the back, so your hands are lit and your body does not cast a shadow.
- On a desk. Place the lamp on the opposite side to your writing hand, aimed down and slightly across the paper. Warm light in the evening is easier on tired eyes than cool white.
Task lights are the layer worth spending on. They are the ones you touch every day, and the ones where a poor shade or a harsh bulb becomes irritating within a week.
Layer Three: Accent Lighting
Accent light is where a room gains personality, and it is the layer most people skip. The trick is restraint: accent light should reveal something, not announce itself. If you can see the bulb or the fitting from the sofa, it is doing too much.
Good places to use it: a picture light above a framed print, an angled spotlight washing a textured wall, a small lamp on a bookshelf, a low lamp inside a glass cabinet, a pair of candles on a dining table. Group objects in odd numbers and light them from one side rather than straight on; side lighting brings out texture in stone, linen and brick.
Keep accent lighting low — a fraction of the brightness of the ambient layer — and switch it separately. Nothing kills the effect faster than accent lights wired to the main ceiling light.
Bulbs and Dimmers: The Practical Details
Colour temperature
Warm white, around 2700K, suits living rooms, bedrooms and dining rooms. Cooler 3000K–4000K reads as crisper and works well in kitchens and utility spaces. The mistake is mixing them in one room: a cool bulb in one lamp and a warm one in another makes both look wrong. Buy one box of the same bulb and use it throughout that room.
Brightness
Ignore watts and look at lumens. As a rough guide, an old 60W bulb gave about 800 lumens, and a modern LED will do that for roughly 8–10W. For a table lamp, 400–600 lumens is plenty. For ceiling light, work out what the room needs, then split it across two or three sources rather than one.
Dimming
Every bulb on a dimmer must be marked as dimmable, and the dimmer itself must be compatible with LED loads — old dimmers designed for filament bulbs often buzz, flicker or refuse to go low. For dimming LEDs, look for a trailing-edge or LED-compatible dimmer and check the minimum load on the switch. For lamps, a plug-in dimmer or a smart plug is the simplest route and needs no wiring at all.
A Simple Way to Start
- Turn off the ceiling light and sit in the room at the time of day you actually use it.
- Identify what you need to see: a book, a hob, a keyboard, a face across the table.
- Place a lamp to cover each of those jobs, lighting from the side.
- Add one ambient source, dimmed, and one accent light aimed at something you like looking at.
- Put ceiling, lamps and accent on separate switches or plugs so you can build the light in stages.
- Live with it for a fortnight before buying anything else.
Living With Your Layers
Good lighting is adjusted, not installed. In the evening, try ambient at half, one task light on and one accent light low. In the morning, reverse it: ambient up, accents off. Then keep tweaking — a lamp moved 30cm can change how a whole room feels.
If you are rewiring or adding circuits, have a qualified electrician check the load and switch positions before you buy fittings. Everything else here is a plug, a bulb or a shade, which means you can start this weekend with what is already in the house.
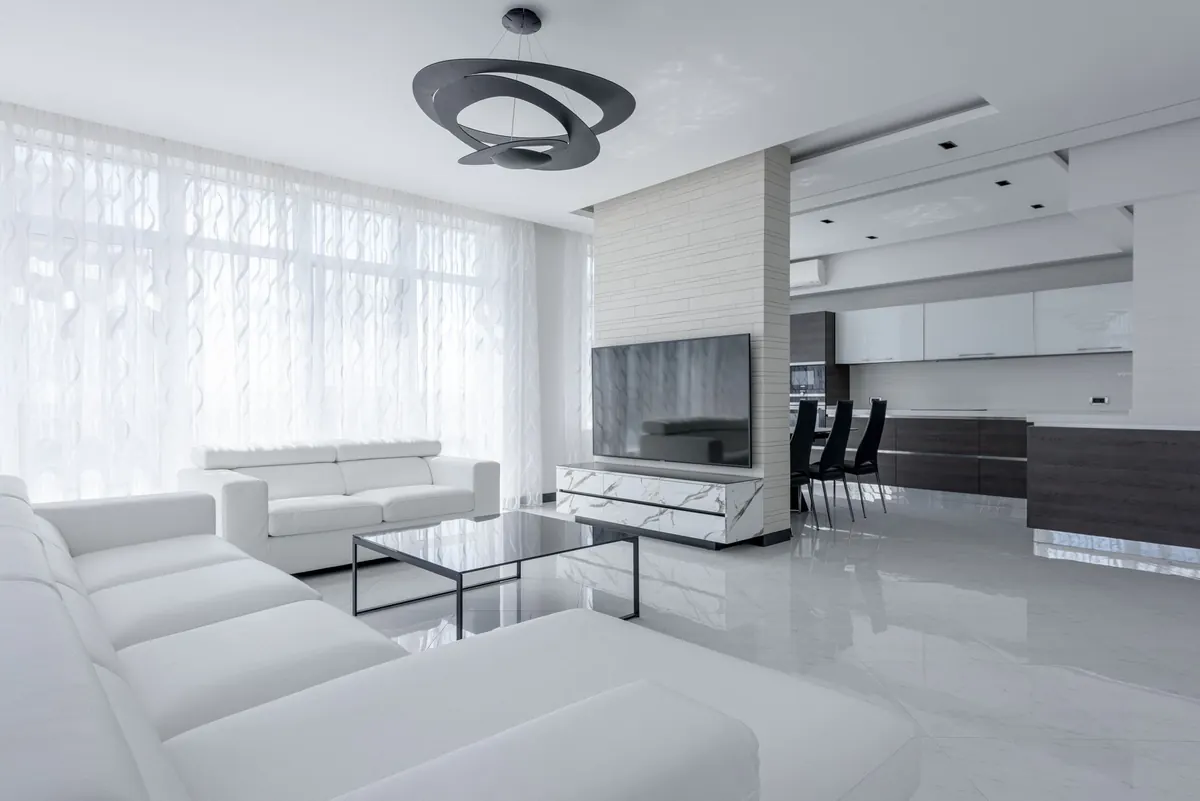
Photo: Max Vakhtbovych / Pexels
Related Articles